Introduction
Learn how to transform an ordinary shirt into a stylish and functional durag with our step-by-step guide. Discover the creative possibilities of repurposing materials to achieve the perfect fit and style. Whether you’re new to durags or seeking a DIY solution, this article has you covered about how to make a durag out of a shirt easily.
Materials Needed
To get started on your journey to crafting a durag from a shirt, gather the following materials:
- Shirt: Choose a shirt that you no longer wear or one that you’re willing to repurpose. Cotton or polyester shirts work best for this project due to their stretchiness and durability.
- Scissors: A pair of sharp scissors will be essential for cutting the shirt fabric accurately.
- Measuring Tape: This will help ensure precise measurements for a well-fitted durag.
- Pins: Use straight pins to secure fabric layers together during the cutting and sewing process.
- Needle and Thread or Sewing Machine: Depending on your preference and skill level, you can hand-sew the durag using a needle and thread or use a sewing machine for faster and more precise stitching.
- Optional: Fabric Marker or Chalk: These tools can be helpful for marking cutting lines on the shirt fabric.
Once you have all these materials assembled, you’re ready to dive into the creative process of making your own durag.

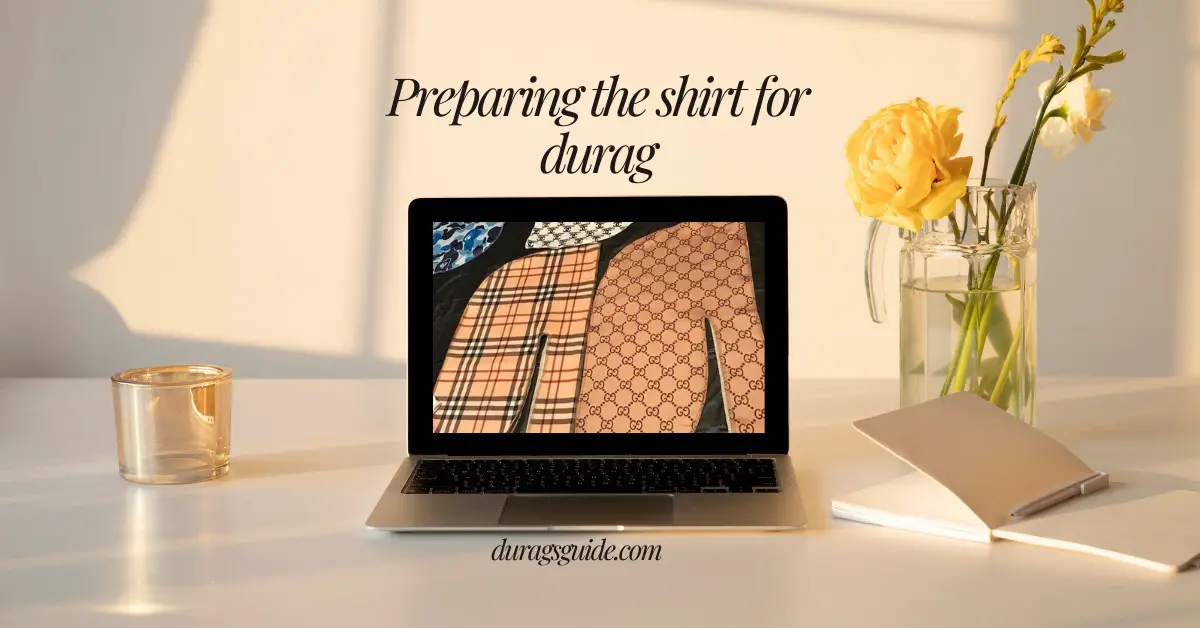
Preparing the Shirt
Before you can begin cutting and sewing your shirt into a durag, it’s essential to prepare the fabric properly. Follow these steps to ensure the best results:
- Wash and Dry the Shirt: Start by washing and drying the shirt to remove any dirt, stains, or residue. This step is crucial for ensuring that your durag is clean and free from any unwanted odors.
- Smooth Out Wrinkles: Once the shirt is dry, use an iron to smooth out any wrinkles or creases in the fabric. This will make it easier to work with and ensure that your durag has a neat, professional appearance.
- Lay Out the Shirt: Lay the shirt flat on a clean, flat surface, such as a table or ironing board. Smooth out any remaining wrinkles and ensure that the fabric is evenly spread out.
- Inspect for Damage: Take a close look at the shirt to check for any holes, tears, or other damage that could affect the quality of your durag. If you notice any issues, consider using a different shirt or patching up the damage before proceeding.
By taking the time to properly prepare your shirt before starting the DIY process, you’ll set yourself up for success and ensure that your finished durag looks and feels great.
Cutting and Sewing Instructions
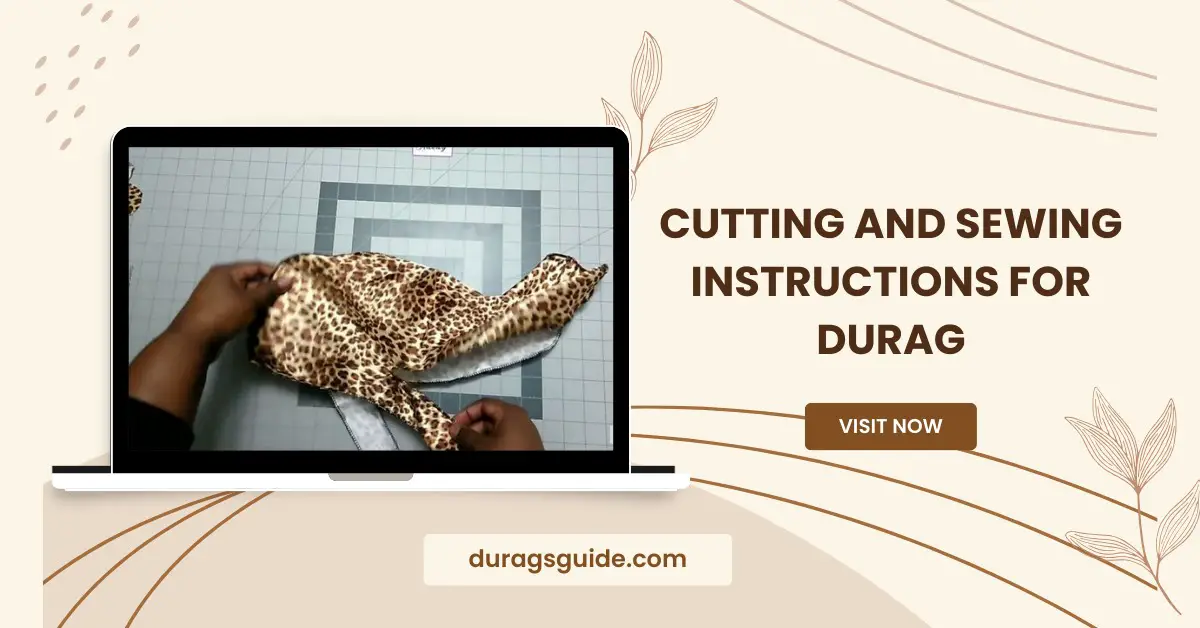
Once you’ve prepared the shirt, it’s time to start transforming it into a durag. Follow these step-by-step instructions to cut and sew the fabric into the desired shape:
- Measure and Mark: Begin by using a measuring tape to measure the desired length and width of your durag. Mark these measurements on the shirt fabric using a fabric marker or chalk.
- Cut Out the Fabric: Carefully cut along the marked lines to remove the excess fabric and create the basic shape of the durag. Pay close attention to the curves and corners to ensure smooth, even cuts.
- Fold and Pin: Fold the fabric in half lengthwise, with the right sides facing each other. Pin the folded edges together to hold them in place during sewing.
- Sew the Seams: Using a needle and thread or a sewing machine, sew along the pinned edges to create the seams of the durag. Start at one end and sew all the way around, leaving a small opening at the top for turning the durag right side out.
- Trim Excess Threads: Once the seams are sewn, trim any excess thread and carefully clip any corners to reduce bulk and allow for smoother turning.
- Turn Right Side Out: Gently turn the durag right side out through the opening left in the top seam. Use a blunt object, such as a pencil or chopstick, to push out any corners and ensure that the seams are fully turned.
- Press Seams: Use an iron to press the seams flat, taking care to avoid ironing over any decorative elements or embellishments on the fabric.
- Optional: Add Elastic: If desired, you can add elastic to the back of the durag to ensure a snug fit. Measure the circumference of your head and cut a piece of elastic to match. Sew the ends of the elastic to the inside of the durag, stretching it slightly as you sew to gather the fabric.
By following these cutting and sewing instructions carefully, you’ll be able to create a custom durag that fits you perfectly and reflects your personal style. Experiment with different fabrics, colors, and patterns to make each durag unique and special.
Styling Tips of make a durag out of a shirt
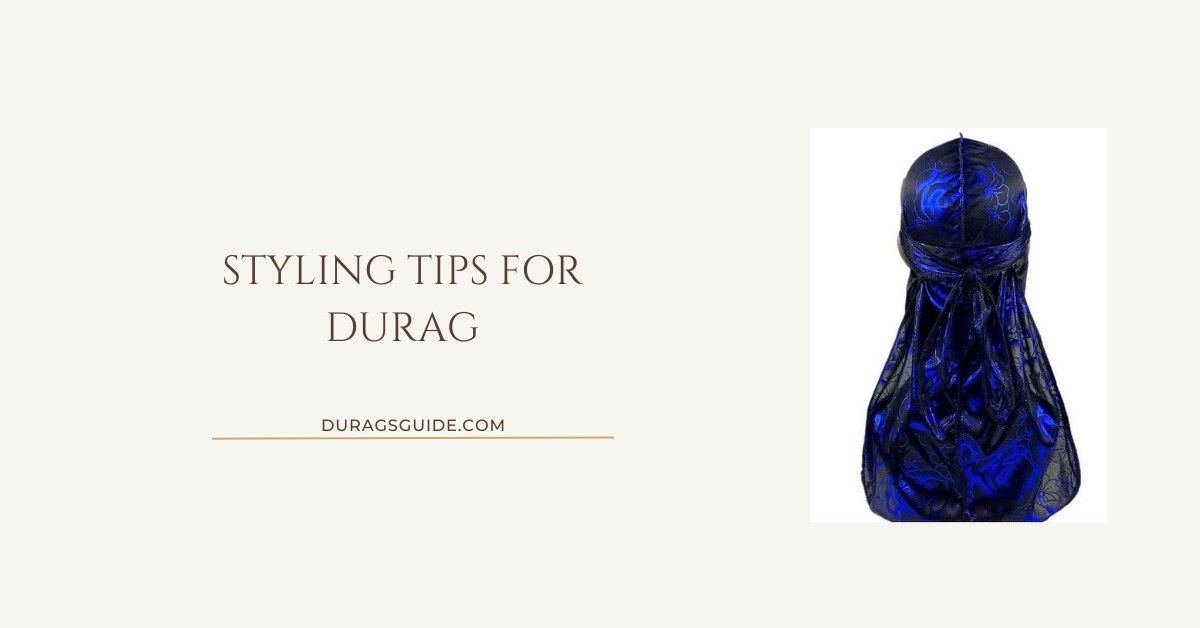
Now that you’ve successfully crafted your own durag from a shirt, it’s time to explore different ways to style and wear it. Here are some tips to help you make the most of your new accessory:
- Experiment with Different Tying Techniques: There are various ways to tie a durag, each resulting in a slightly different look. Try experimenting with different techniques, such as the classic tie, the compression method, or the swirl tie, to find the style that suits you best.
- Coordinate with Your Outfit: Durags come in a wide range of colors and patterns, so don’t be afraid to mix and match them with your outfits. Coordinate your durag with your clothing or accessories to create a cohesive and stylish look.
- Accessorize: Add extra flair to your durag by accessorizing with jewelry, pins, or patches. You can attach decorative pins or patches to the front of the durag or wrap jewelry, such as chains or rings, around the ties for a personalized touch.
- Layer with Other Headwear: Durags can be worn alone or layered with other headwear for added style and versatility. Try wearing your durag under a hat or beanie for a layered look, or pair it with a headscarf or bandana for a unique twist.
- Maintain Your Durag: To keep your durag looking its best, make sure to wash it regularly according to the care instructions for the fabric. Avoid using harsh chemicals or bleach, as these can damage the fabric and cause colors to fade.
- Confidence is Key: Above all, wear your durag with confidence and pride. Whether you’re rocking it as a fashion statement or for practical reasons, owning your style will make you look and feel great.
By following these styling tips, you’ll be able to rock your durag with confidence and showcase your unique sense of style to the world. So go ahead, experiment, and have fun expressing yourself through your new favorite accessory!
Alternative Uses: Making a Turban
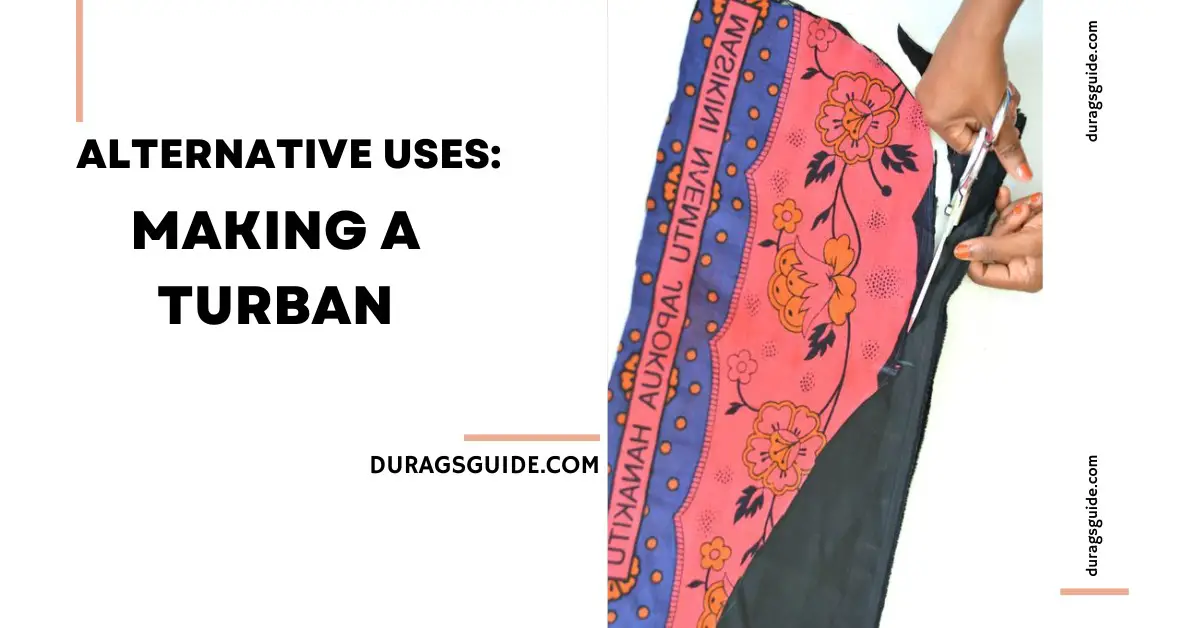
In addition to making a durag out of a shirt, you can also repurpose the fabric to create a stylish turban. Follow these simple steps to transform your shirt into a fashionable head covering:
- Prepare the Fabric: Start by washing and drying the shirt to ensure that it’s clean and free from any wrinkles or odors. Smooth out the fabric with an iron to make it easier to work with.
- Cut the Fabric: Lay the shirt flat on a clean, flat surface and use scissors to cut off the sleeves and collar. Then, cut along the side seams to create two large fabric rectangles.
- Measure and Mark: Use a measuring tape to measure the circumference of your head and the length of your desired turban. Mark these measurements on the fabric rectangles using a fabric marker or chalk.
- Fold and Pin: Fold one of the fabric rectangles in half lengthwise, with the right sides facing each other. Pin the long edges together to hold them in place during sewing.
- Sew the Seam: Using a needle and thread or a sewing machine, sew along the pinned edge to create a long tube of fabric. Repeat this step with the second fabric rectangle.
- Turn Right Side Out: Gently turn each fabric tube right side out through one end. Use a blunt object, such as a pencil or chopstick, to push out any corners and ensure that the seams are fully turned.
- Wrap and Style: To wear the turban, place one fabric tube on your head and wrap the other tube around it, tucking the ends in securely. Experiment with different wrapping techniques and styles until you achieve the look you desire.
- Accessorize: Add extra flair to your turban by accessorizing with pins, brooches, or fabric flowers. You can also layer the turban with other headwear or wear it with statement jewelry for a bold and fashionable look.
By repurposing your shirt into a turban, you can create a versatile and stylish accessory that adds a unique touch to any outfit. So raid your wardrobe, grab a shirt, and get creative with your turban-making skills!
Hair Care Tips: Remedies Using Head & Shoulders Shampoo
While wearing a durag is a stylish and practical way to protect your hair, it’s also essential to maintain the health and cleanliness of your scalp. Head & Shoulders shampoo is a popular choice for addressing scalp issues such as dandruff and dryness. Here are some remedies and tips for using Head & Shoulders shampoo to keep your scalp healthy while wearing a durag:
- Combat Dandruff: If you struggle with dandruff, use Head & Shoulders shampoo regularly to help control flakes and soothe your scalp. Massage the shampoo into your scalp, focusing on areas prone to dandruff, and rinse thoroughly.
- Moisturize Dry Scalp: Head & Shoulders offers formulas specifically designed to moisturize and hydrate the scalp, helping to alleviate dryness and itchiness. Look for shampoos containing ingredients like almond oil or coconut oil, which are known for their moisturizing properties.
- Address Scalp Irritation: If you experience scalp irritation or sensitivity, opt for a gentle formula of Head & Shoulders shampoo that is free from harsh chemicals and fragrances. These gentle formulas are suitable for daily use and can help calm and soothe irritated skin.
- Follow with Conditioner: After shampooing with Head & Shoulders, follow up with a conditioner to hydrate and soften your hair. Look for conditioners specifically formulated for your hair type, whether it’s curly, straight, or textured, to achieve the best results.
- Rotate Formulas: Head & Shoulders offers a variety of formulas tailored to different hair and scalp needs, including options for color-treated hair, volumizing formulas, and clarifying shampoos. Experiment with different formulas to find the one that works best for your hair and scalp.
- Limit Washing: While it’s essential to keep your scalp clean and free from buildup, washing your hair too frequently can strip away natural oils and lead to dryness. Aim to wash your hair with Head & Shoulders shampoo no more than two to three times per week, unless otherwise directed by a dermatologist.
- Consult a Professional: If you have persistent scalp issues or concerns, such as severe dandruff or scalp psoriasis, consult a dermatologist for personalized advice and treatment recommendations. They can help diagnose the underlying cause of your scalp issues and recommend an appropriate course of action.
By incorporating Head & Shoulders shampoo into your hair care routine, you can maintain a healthy scalp while wearing a durag and ensure that your hair looks and feels its best. Experiment with different formulas and techniques to find the perfect regimen for your hair and scalp needs.

Protecting Your Hair: Tips for Sauna Use
Using a sauna can be a relaxing and rejuvenating experience, but it’s essential to take precautions to protect your hair from the heat and humidity. Here are some tips for safeguarding your hair while enjoying a dry sauna:
- Tie Up Your Hair: Before entering the sauna, tie your hair up in a loose bun or ponytail to keep it off your neck and shoulders. This will help prevent your hair from becoming damp with sweat and minimize frizz.
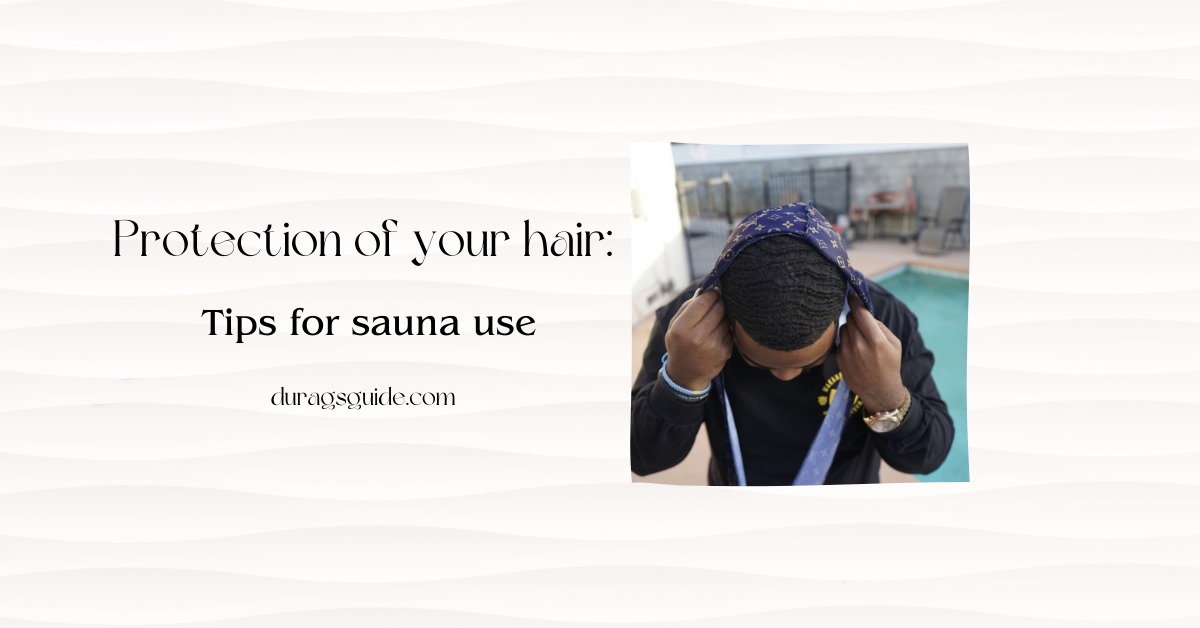
- Wear a Durag or Headscarf: Consider wearing a durag or headscarf to cover your hair and protect it from direct exposure to the heat. The fabric will help absorb sweat and protect your hair from drying out or becoming damaged by the sauna’s high temperatures.
- Use a Leave-In Conditioner: Apply a leave-in conditioner to your hair before entering the sauna to help lock in moisture and protect your strands from the dry heat. Look for a lightweight formula that won’t weigh your hair down or leave it feeling greasy.
- Avoid Hair Products: Skip heavy styling products like gels, mousses, and hairsprays before using the sauna, as these can react with the heat and humidity, causing your hair to become sticky or greasy. Opt for lightweight, water-based products instead.
- Stay Hydrated: Drink plenty of water before and after using the sauna to stay hydrated and prevent your hair from becoming dry and brittle. Hydration is key to maintaining healthy hair, especially in high-heat environments like saunas.
- Limit Time Spent in the Sauna: While saunas can be beneficial for relaxation and detoxification, prolonged exposure to the heat and humidity can damage your hair and scalp. Limit your sauna sessions to no more than 15-20 minutes at a time, and take breaks to cool down and hydrate.
- Protect Your Scalp: Just as it’s essential to protect your hair, it’s also crucial to safeguard your scalp from the sauna’s heat. Consider wearing a durag or headscarf to cover your scalp and prevent excess sweating, which can lead to scalp irritation and discomfort.
- Rinse and Condition Afterward: After using the sauna, rinse your hair with lukewarm water to remove any sweat or impurities. Follow up with a hydrating conditioner to replenish moisture and nourish your strands, leaving your hair feeling soft and manageable.
By following these tips, you can enjoy the benefits of using a sauna while keeping your hair healthy and protected. Incorporate these practices into your sauna routine to maintain vibrant, beautiful hair year-round.
Additional Hair Care Advice
In addition to the specific tips for using Head & Shoulders shampoo and protecting your hair in a sauna, here are some general hair care tips to keep in mind while wearing a durag:
- Keep Your Durag Clean: Just like any other piece of clothing, your durag can accumulate dirt, sweat, and product buildup over time. Wash your durag regularly according to the care instructions to keep it clean and fresh.
- Rotate Durags: Consider owning multiple durags in different colors and styles so you can rotate them regularly. This helps prevent excessive wear and tear on any single durag and allows you to switch up your look effortlessly.
- Moisturize Your Hair: Hydrated hair is healthy hair, so make sure to moisturize your hair regularly. Use a leave-in conditioner or hair oil to keep your strands nourished and prevent dryness and breakage.
- Protect Your Edges: Be mindful of how tightly you tie your durag to avoid putting too much pressure on your edges. Tight durag ties can cause traction alopecia, a condition where constant tension on the hair follicles leads to hair loss.
- Practice Good Hair Habits: Treat your hair with care by avoiding excessive heat styling, over-processing, and harsh chemicals. Opt for protective hairstyles when possible, and use heat protectant products when using hot tools.
- Trim Your Ends: Regular trims are essential for maintaining healthy hair and preventing split ends. Aim to trim your hair every 6-8 weeks to remove any damaged or split ends and promote healthy growth.
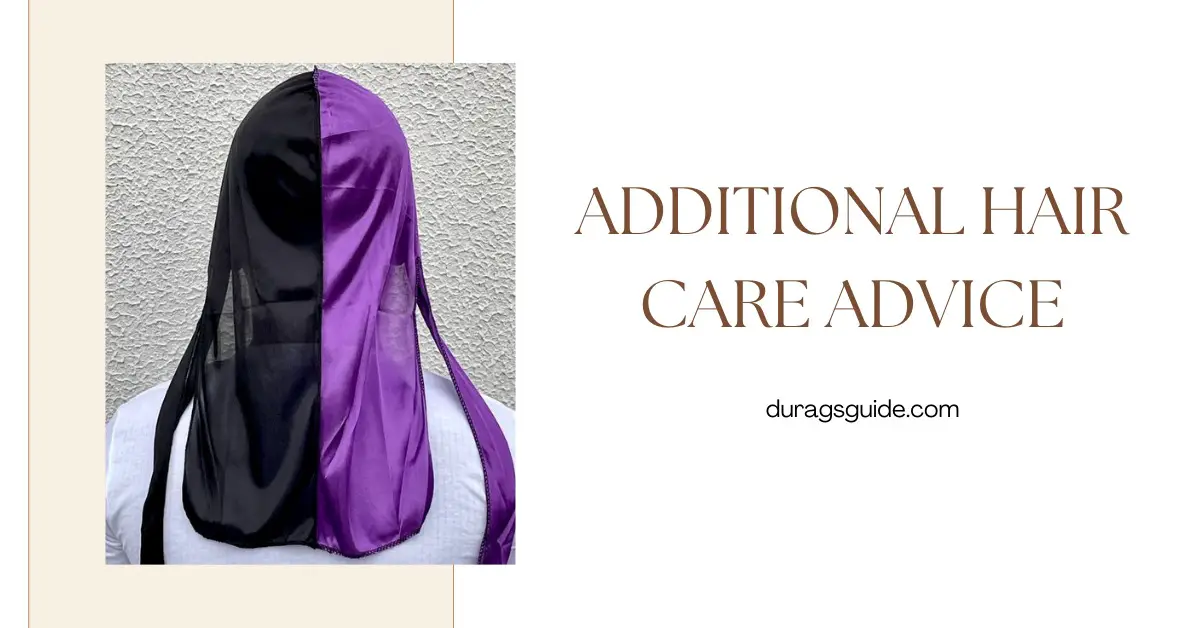
- Protect Your Hair at Night: Wear your durag to bed to protect your hair from friction and moisture loss while you sleep. Silk or satin durags are especially beneficial for preventing breakage and preserving your hairstyle overnight.
- Eat a Healthy Diet: Your hair’s health starts from within, so make sure to eat a balanced diet rich in vitamins, minerals, and proteins. Foods like fruits, vegetables, lean proteins, and healthy fats can all contribute to strong, vibrant hair.
- Manage Stress: Stress can negatively impact your hair’s health and lead to issues like hair loss and breakage. Practice stress-relief techniques such as meditation, yoga, or deep breathing exercises to help keep your hair and scalp healthy.
By incorporating these additional hair care tips into your routine, you can ensure that your hair remains healthy, strong, and stylish while wearing a durag. Prioritize proper care and maintenance to keep your hair looking its best for years to come.
Conclusion
In conclusion, learning how to make a durag out of a shirt opens up a world of creative possibilities for expressing your personal style while protecting and maintaining the health of your hair. Whether you’re crafting a durag from scratch, experimenting with different tying techniques, or exploring alternative uses like making a turban, the process is as rewarding as it is versatile. By following the outlined steps and incorporating the provided hair care tips, you can confidently rock your custom-made durag while keeping your hair healthy, hydrated, and vibrant. So, embrace your creativity, care for your hair, and enjoy the journey of crafting and wearing your own unique durag creation.
FAQS
Can I use a shirt as a durag?
Yes, you can. Fold the shirt into a strip, tie it snugly around your head, and adjust for desired coverage. It may not be as effective as a traditional durag, but it can work in a pinch.
How much fabric do I need for a durag?
You’ll typically need about 1 yard of fabric, preferably stretchy material like satin or velvet. Cut it into a rectangle measuring around 22 inches by 45 inches for a standard-sized durag. Adjust lengths according to your head size and desired tail length.
What material is used to make a durag?
Durags are often made from materials like satin, velvet, or silk due to their smooth texture and ability to prevent hair breakage. These fabrics also help retain moisture and protect hairstyles, making them popular choices for durag construction. Some durags may also incorporate stretchy materials like spandex for a snug fit.
